A damaged shingle is rarely just a cosmetic problem — left alone, it opens the door to leaks, rot, and much bigger repair bills, so knowing how to spot, fix, and when necessary replace roof shingles is one of the most valuable things a homeowner can learn.
Why Shingle Damage Deserves Your Attention
Shingles take more punishment than almost any other part of a house. They bake under summer sun, get pelted by hail and wind-driven rain, and expand and contract through every freeze-thaw cycle New England throws at them. Over time, that stress adds up, and even a single cracked or lifted shingle can let water sneak underneath the roofing system where it doesn’t belong.
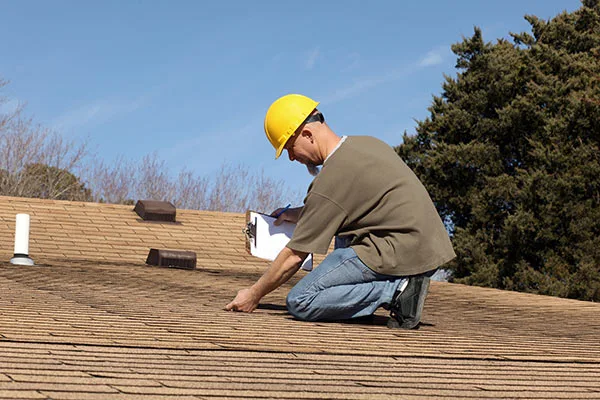
The tricky part is that shingle damage rarely announces itself. A homeowner might notice a granule-filled gutter, a slightly discolored patch on the ceiling, or a shingle corner flapping in the wind and assume it’s minor. In reality, these are early warning signs that deserve a closer look before they turn into a full roof shingle repair job — or worse, a hidden leak that’s been quietly damaging the decking underneath for months.
Common Signs Your Roof Shingles Need Repair
A quick visual inspection from the ground, or a walk through the attic with a flashlight, can reveal a lot. Here’s what tends to show up first:
- Curling or cupping edges. Shingles that lift at the corners or curl upward are usually past their prime and losing their ability to shed water.
- Cracked or split shingles. Thermal cycling and age make asphalt shingles brittle, and cracks let moisture work its way underneath.
- Missing shingles or tabs. Wind is the usual culprit here, and a missing shingle leaves the underlayment directly exposed.
- Bald spots and granule loss. Heavy granule buildup in gutters or downspouts signals that shingles are wearing thin and losing UV protection.
- Dark streaks or moss growth. This often points to trapped moisture, which can accelerate shingle breakdown if it’s not addressed.
- Soft spots or sagging. These usually mean water has already reached the roof deck, and the issue has moved beyond a simple repair.
Catching these signs early is what keeps a small roofing shingle repair from becoming a much bigger, more expensive project. If any of this sounds familiar, it’s worth understanding the repair options available before deciding on a next step.
Roofing Shingle Repair: How to Fix the Problem Areas
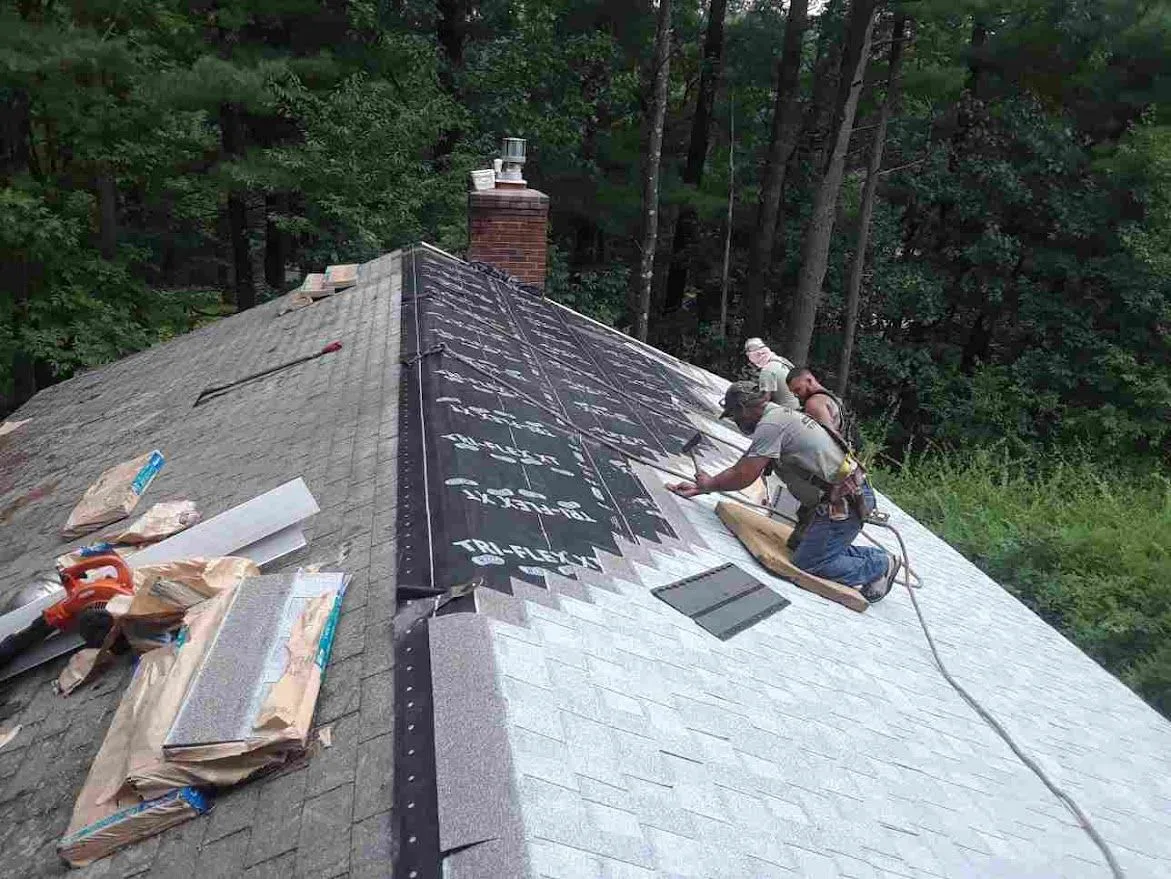
For isolated damage, roofing shingle repair is often a straightforward fix, especially when it’s handled before water reaches the decking. Here’s how the most common repairs typically go.
Fixing a Cracked or Split Shingle
A single crack doesn’t always mean the whole shingle needs to go. On a dry, mild day, a roofer can gently lift the shingle, apply roofing cement underneath the crack, and press it firmly back into place. For hairline cracks, a bead of sealant along the split — followed by light pressure to bond it — is often enough to stop water intrusion without pulling nails or disturbing surrounding shingles.
Re-securing a Lifted or Loose Shingle
Wind can loosen a shingle’s seal without fully detaching it. In this case, the fix involves carefully lifting the shingle, applying roofing adhesive underneath in small dabs (not a solid layer, which can trap moisture), and pressing it down so the seal re-bonds. Nails that have backed out get reset or replaced, and the nail head is covered with a small dab of sealant so it doesn’t become its own leak point later.
Using Roof Shingle Sealant Correctly
Roof shingle sealant is one of the most useful tools in a repair kit, but it’s also one of the most misused. Sealant is meant for small, targeted jobs — sealing a nail head, reinforcing a shingle edge, or patching a minor crack — not as a blanket fix for widespread wear. A few tips that make the difference between a lasting repair and a temporary patch:
- Apply sealant only to clean, dry shingles; dust and debris prevent proper adhesion.
- Use a roofing-grade sealant rated for the shingle material, not general-purpose caulk.
- Apply thin, even layers rather than thick globs, which crack over time.
- Avoid sealing over granule loss or brittle shingles — sealant can’t restore structural integrity to a shingle that’s already failing.
Replacing a Single Damaged Shingle
When a shingle is torn, badly cracked, or missing altogether, a full swap is usually the better move. The process involves carefully lifting the surrounding shingles, removing the nails holding the damaged shingle in place, sliding the old shingle out, and sliding a matching replacement into its place before renailing and resealing the tabs above it. Matching the shingle color and style matters here — a mismatched patch is one of the most common complaints homeowners have after a DIY repair.
Done correctly, these repairs can add years to a roof’s life. But repair only makes sense when the damage is contained. When it’s spread across multiple areas, it’s time to weigh repair against replacement.
Roof Shingles Repair or Full Replacement? How to Decide
This is the question every homeowner eventually faces, and the right answer depends on a handful of practical factors rather than guesswork.
- Age of the roof. Asphalt shingle roofs typically last 20 to 25 years. If your roof is approaching or past that range and showing damage, repairs may only buy a little time before another issue crops up nearby.
- Extent of the damage. A handful of shingles scattered across one slope is usually a repair. Damage across multiple slopes, or shingles that are uniformly curling and losing granules, points to a system that’s failing as a whole — and that calls for replacing roof shingles across the affected sections rather than patching piece by piece.
- What’s happening underneath. If moisture has reached the roof deck, insulation, or attic framing, a surface-level shingle repair won’t solve the underlying problem. A roofer checking for soft decking, mold, or water staining can tell you whether the damage is truly cosmetic or structural.
- Cost over time. Frequent repairs add up. If you’ve called for shingle repair more than once or twice in the past couple of years, the math often favors replacement, especially with a roof nearing the end of its expected lifespan.
- Matching shingles. Discontinued colors or styles can make repairs visually obvious. If your roofing material is older or was recently redesigned by the manufacturer, sourcing an exact match gets harder every year, which is another point in favor of replacement for widespread wear.
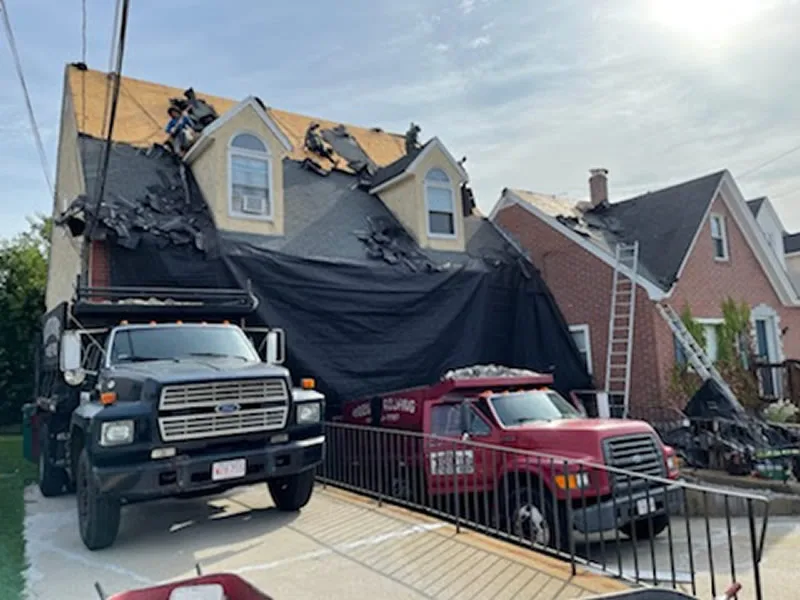
A professional inspection removes the guesswork. Wooster Roofing’s team can walk the roof, check the decking, and give you a straightforward recommendation — repair where it makes sense, replace where it doesn’t — without pushing you toward the more expensive option by default.
Replacing Roof Shingles: What the Process Actually Looks Like
When replacement is the right call, understanding the steps helps set realistic expectations for timeline, cost, and what happens to your property along the way.
- Inspection and Tear-Off
A proper job starts with removing the old shingles down to the decking, not layering new shingles over old ones. Tear-off lets the crew inspect the plywood or OSB decking underneath for rot, soft spots, or water damage that needs to be addressed before anything new goes down. - Deck Repair
Any compromised decking gets replaced at this stage. Skipping this step is one of the most common shortcuts in the roofing industry, and it’s also one of the most costly mistakes down the line, since new shingles installed over a weakened deck won’t hold up as intended. - Underlayment and Flashing
A new synthetic or felt underlayment goes down as the roof’s secondary moisture barrier, along with ice-and-water shield in vulnerable areas like eaves and valleys — a step that matters a great deal in a climate with real winters. Flashing around chimneys, vents, and skylights gets replaced or resealed to prevent the leaks that so often start at these transition points. - Shingle Installation
New shingles go down in overlapping rows, starting at the eaves and working upward, with proper nailing patterns and spacing to meet manufacturer specifications and maintain the warranty. This is where craftsmanship really shows: correct nail placement, consistent exposure, and clean lines along ridges and valleys all affect how long the new roof will last. - Ventilation and Final Inspection
Ridge vents or other ventilation components are installed or checked to keep the attic properly ventilated, which helps prevent premature shingle aging from trapped heat and moisture. A final walk-through and cleanup — including a magnetic sweep for stray nails — wraps up the job.Most residential roof replacements take one to three days depending on the size and complexity of the roof, weather conditions, and the number of layers being removed. Wooster Roofing handles every one of these steps in-house, so nothing gets rushed or skipped to hit a deadline.
Frequently Asked Questions
- How long does a roof shingle repair typically last?
A well-done repair on an otherwise healthy roof can last for years, especially when roofing cement and roof shingle sealant are applied correctly. The lifespan depends heavily on the age and condition of the surrounding shingles, since a patch is only as durable as the material around it. - Can I use roof shingle sealant on any type of shingle?
Most sealants work well with standard asphalt shingles, but always check the product label against your shingle type. Using the wrong sealant can void a manufacturer’s warranty or fail to bond properly, so it’s worth confirming compatibility before applying anything. - Is it safe to walk on my roof to inspect shingle damage myself?
A ground-level inspection with binoculars is safer than climbing onto the roof, especially on a steep slope or after a storm. Wet or aging shingles can be slippery and brittle, and it’s easy to cause additional damage by walking in the wrong spot. When in doubt, a professional inspection is the safer route. - How much does replacing roof shingles typically cost?
Costs vary based on roof size, pitch, material choice, and the condition of the decking underneath. Getting an on-site estimate is the most accurate way to know what your specific roof will need, since online estimates rarely account for local labor rates or existing damage. - Will homeowners insurance cover roof shingle repair or replacement?
Many policies cover sudden damage from storms, wind, or hail, but general wear and aging usually aren’t covered. Documenting the damage with photos and getting a professional assessment can help support a claim if the damage was storm-related. - How often should I have my roof shingles inspected?
A yearly inspection, plus a check after any major storm, catches small issues before they become expensive ones. It’s a habit that costs little and consistently saves homeowners money over the life of the roof.
Get a Professional Opinion Before You Decide
Whether a few shingles need patching or your whole roof is due for replacement, the safest first step is a professional look. Guessing at the extent of shingle damage — or putting off an inspection — is how small problems turn into ceiling stains and costly repairs.
Wooster Roofing has been helping homeowners fix, patch, and replace damaged shingles with honest assessments and quality workmanship. If you’ve spotted curling edges, missing shingles, or granules piling up in your gutters, reach out before the next storm makes the decision for you.
Wooster Roofing Text: (978) 817-7088 Call: 978-851-7663 Website: wooster-roofing.com
Tags: Replacing Roof Shingles, Roof Shingle Sealant, Roof Shingles Repair, Roofing Shingle Repair